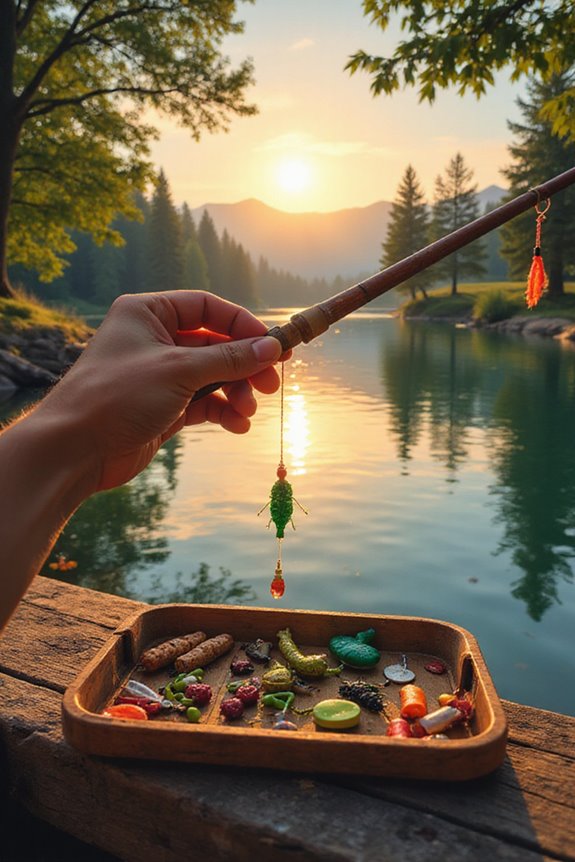
To attach bait to your fishing pole in Stardew Valley, first, make certain you’re using a Fiberglass or Iridium Rod, since only these accept bait. Open your inventory and select the bait you want, then drag it to the rod or right-click to attach. On consoles, highlight the bait, and use the specified button to attach it. Check the bait slot to verify it’s empty. Using bait helps catch fish faster, so it’s a smart move for your fishing trips. More details on bait types and their effects can enhance your fishing strategy.
Key Takeaways
- Ensure you have a compatible rod (Fiberglass or Iridium) for bait attachment, as Bamboo Rod does not support bait.
- Open your inventory and select the bait you wish to attach.
- On PC, drag the bait to the rod or right-click to attach; use corresponding buttons for console platforms.
- Verify that the rod has an empty bait slot; attachment will fail if the slot is occupied.
- Use bait to reduce fish bite time and improve your fishing success rate.
Understanding Fishing Rods That Use Bait
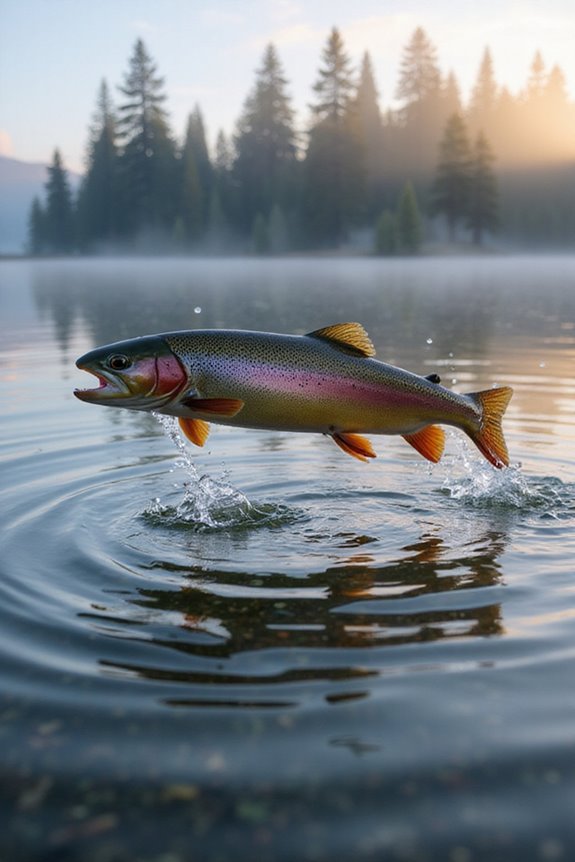
When it comes to fishing in Stardew Valley, understanding the compatibility of fishing rods with bait is vital for enhancing your catch rate. Only the Fiberglass Rod and Iridium Rod accept bait attachments, while the basic Bamboo Rod does not support bait usage. The Fiberglass Rod is your first upgrade, allowing you to speed up fish bites considerably. The Iridium Rod further improves performance, providing a tackle slot alongside bait compatibility. Using bait reduces the minimum and maximum fish bite time by 50%. If you want to maximize efficiency, consider using Deluxe Bait, which offers a 67% reduction. An effective braking system efficiency is important for real-world fishing reels, but fortunately in Stardew Valley, you don’t need to worry about backlash. Remember, attaching bait is an important step for reaping these bait benefits, so be sure to equip your rods properly before casting.
Steps to Attach Bait on PC

Attaching bait to your fishing rod in Stardew Valley is a straightforward process that enhances your fishing experience. First, I open my inventory by pressing “E.” Next, I locate the bait type I want to use, ensuring it’s compatible with my fishing rod, such as the Fiberglass or Iridium Rod. I click on the bait to pick it up. After that, I position my cursor over the fishing rod icon in the inventory. I can either drag and drop the bait onto the rod or right-click on the rod to attach it quickly. This precision control is similar to how moisture-proof technology prevents food clumping in automatic fish feeders. Finally, I confirm that the bait icon appears in the rod’s bait slot, ensuring I’m all set for my next fishing adventure.
Attaching Bait on Xbox

To successfully attach bait to your fishing rod on Xbox, start by accessing your inventory while holding your fishing rod and bait items. Use the d-pad or cursor to highlight your bait stack. Press the A button to select the entire stack, or X to pick up a single bait. Next, move the cursor over to your fishing rod in the inventory. Press the X button again to attach the bait to the rod. Remember, only the Fiberglass Rod, Iridium Rod, and Advanced Iridium Rod can have bait attached. Once you’ve equipped your bait, you can immediately enjoy the benefits, like increased bite rates, when you start fishing. Mastering these Xbox controls will enhance your fishing experience greatly. Similar to real ice fishing where rod sensitivity impacts your ability to detect bites, proper bait attachment in Stardew Valley significantly improves your catch rate.
Attaching Bait on PS4

Accessing your inventory on the PS4 is the first step in attaching bait to your fishing rod. Begin by pressing the appropriate button on the controller to open the inventory menu. Navigate through your items until you locate the bait, represented by a small red worm icon. For bait selection, press X to grab the entire stack, or press Square to pick up a single piece. Confirm you have a fiberglass rod or better, as these allow bait attachment. With the bait selected, move your cursor over the fishing rod in your inventory and press Square to attach it. You’ll see a small bait icon appear next to the rod, indicating it’s ready to enhance your fishing experience.
Attaching Bait on Nintendo Switch

When you’re ready to enhance your fishing experience on the Nintendo Switch, the process of attaching bait to your fishing rod is straightforward. First, make sure you have a fiberglass rod or an iridium rod, as the bamboo training rod doesn’t support bait attachment. Open your in-game inventory using the appropriate button. Highlight the bait stack by pressing A for the whole stack or Y for a single bait. Move your cursor over the fishing rod in your inventory, then press Y to attach the bait. Confirmation happens immediately—your rod will now utilize the bait when fishing. Remember, using bait speeds up your bite rate considerably, so having it equipped is essential for effective fishing trips.
Attaching Bait on Mobile Devices
Attaching bait on mobile devices can enhance your fishing experience considerably, especially when you’re keen to catch that elusive fish. To start, tap the inventory icon on your screen to open your inventory. Locate your bait, which looks like small red worms for regular bait. Use mobile baiting techniques by tapping and holding the bait item, then drag it over your fishing rod. Release the bait to attach it, and you’ll see a bait icon next to the rod, confirming it’s ready. Remember, managing your inventory efficiently is key—swapping bait replaces the old one, returning it to your inventory. This process reduces fish bite time by about 50%, improving your chances of landing that big catch.
Requirements for Using Bait
To effectively use bait in Stardew Valley, certain requirements must be met regarding equipment and fishing levels. First, you’ll need an upgraded fishing rod; the Bamboo Rod won’t do since it lacks a bait slot. The Fiberglass Rod, available at Willy’s shop for 1,800g when you reach Fishing level 2, allows bait attachment. For advanced options, the Iridium Rod and Advanced Iridium Rod support both bait and tackle.
Bait acquisition is straightforward; you can buy basic bait for 5g each or craft it using 1 Bug Meat at Fishing level 2. As you progress, bait crafting options expand, with magnet bait becoming available at level 9. Remember, using bait increases your chances of catching fish, enhancing your overall fishing experience.
Different Types of Bait and Their Effects
Fishing in Stardew Valley offers a variety of bait options, each tailored to enhance your experience and improve your catch. Standard Bait reduces wait time for fish to bite by 50% and decreases trash catch, making it great for beginners. Magnet Bait doubles treasure finds but doesn’t speed up bites, perfect for those seeking valuable items. For advanced players, Magic Bait allows fishing regardless of season or weather, ideal for rare catches. Targeted Bait, introduced in update 1.6, increases the chances of specific fish types, useful for quests. Finally, Deluxe Bait combines benefits of other baits, enhancing overall bait effectiveness. Experimenting with bait combinations can lead to more efficient fishing trips and better overall results.
Troubleshooting Common Issues With Bait Attachment
When you encounter issues with bait attachment in Stardew Valley, it’s important to first check the compatibility of your fishing rod. Verify you’re using the Fiberglass Rod, Iridium Rod, or Advanced Iridium Rod, as the Training Rod can’t equip bait. If your rod has no empty bait slot, attachment will fail. Confirm that you have the right bait in your inventory; otherwise, you won’t be able to attach it. Follow specific troubleshooting methods for your platform: drag and drop on PC, button presses on consoles, or drag-and-drop on mobile. If problems persist, restart the game to rule out minor glitches. By addressing these common bait issues, you can enjoy a smoother fishing experience.
Tips for Efficient Bait Use in Fishing
Efficient bait use is essential for maximizing your fishing success in Stardew Valley. I recommend prioritizing bait strategies based on your fishing goals. Using basic bait cuts bite time by 50%, while Wild Bait and Challenge Bait further reduce it by 62.5%. If you’re aiming for treasure, consider Magnet Bait, which doubles treasure finds, though it doesn’t impact bite time. For bait conservation, equip a rod with the Preserving enchantment to maintain your bait supply, offering a 50% chance of not consuming bait after a nibble. Regularly craft or stock up on higher-tier baits like Magic Bait for versatility and Targeted Bait for specific fish. Optimize your fishing experience by combining bait with tackle for improved results.
Frequently Asked Questions
Can I Use Bait With the Training Rod?
I can’t use bait with the Training Rod, sadly. It’s like trying to catch fish with an empty net. For bait effectiveness, I need to upgrade my rod to truly enhance my fishing adventures.
How Do I Craft Regular Bait?
To craft regular bait, I access the recipe at Fishing Level 2. It only requires Bug Meat. I love how it improves my catch rate. There are various bait types, but regular bait’s essential for fishing!
Does Bait Affect Rare Fish Catch Rates?
I’ve learned that while bait types can enhance your fishing strategies, they don’t directly boost rare fish catch rates. Instead, targeted bait increases your chances when conditions align, making it essential for specific catches.
Can Bait Be Reused After Each Fishing Attempt?
Bait can’t be reused after each fishing attempt; its durability decreases with every cast. I find managing my bait supplies essential for fishing efficiency, ensuring I always have enough for successful trips.
What Materials Are Needed for Magnet Bait?
I’ve always wondered about the secrets of crafting magnet bait. For those interested, the ingredients are simple: one Iron Bar can create three units. Gather iron ore, smelt it, and you’re good to go!