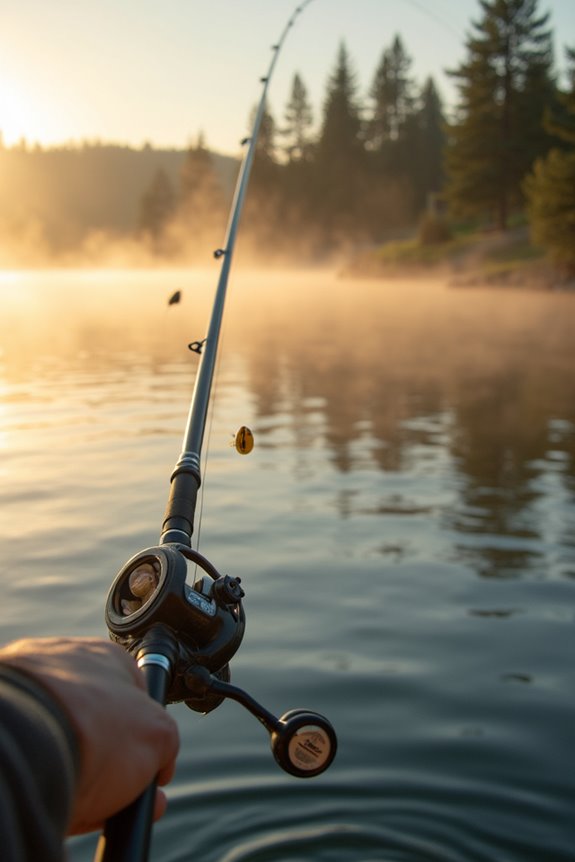
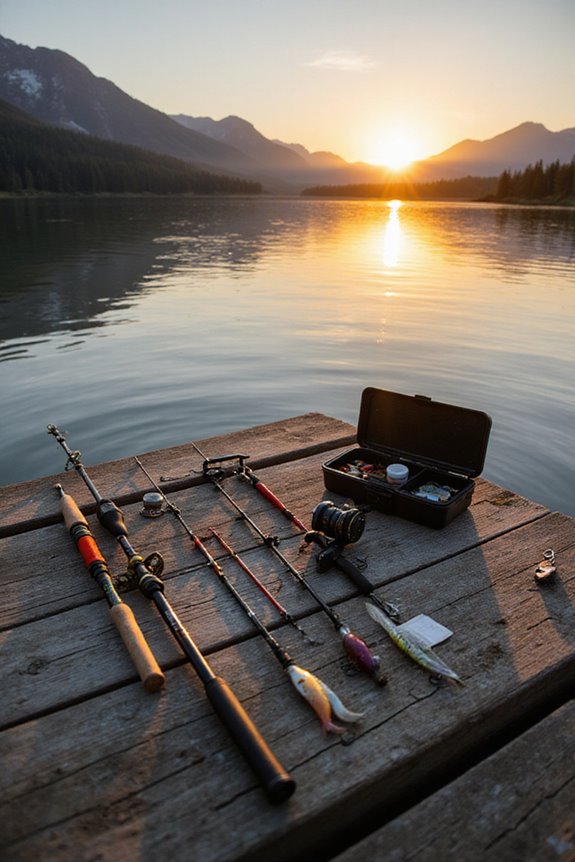
To set up a fishing pole, I start by choosing the right rod and reel. For beginners, a 7-foot graphite rod offers versatility, while a quality spinning reel provides ease of use. I assemble the rod by aligning the sections, ensuring guides are straight. I tie a Palomar knot with a strong line to attach hooks. Next, I add weights based on water conditions, and use a slip bobber for adjustable depth. Following these steps, you’ll enhance your fishing skills.
Key Takeaways
- Assemble the fishing rod by starting with the tip section, ensuring all parts fit snugly and guides are aligned with the reel.
- Choose and tie the appropriate knot for your line and terminal tackle, such as the Palomar knot for braided lines.
- Attach the right weights based on water conditions, ensuring they allow for natural bait movement and are positioned correctly above the hook.
- Use a suitable bobber to detect bites; choose between slip bobbers for adjustable depths or fixed bobbers for targeting specific depths.
- Inspect your gear, replace old line, organize tackle, and pack essential tools and safety items for a successful fishing trip.
Choosing the Right Fishing Rod and Reel
When it comes to choosing the right fishing rod and reel, what factors should you consider to enhance your fishing experience? First, think about rod length. A 7-foot rod is versatile for various fishing situations, while shorter rods, around 5-7 feet, offer better control, especially for larger fish. If you’re bank fishing, longer rods can help with casting distance. Next, consider rod material. Graphite rods are lightweight and sensitive, ideal for detecting bites, while fiberglass rods are more durable and flexible, great for beginners. Composite rods offer a balance of both. For maximum portability, telescopic fishing rods can collapse to under 17 inches while extending to lengths suitable for various fishing environments. Ultimately, matching the rod length and material to your fishing style and target species will greatly improve your overall experience on the water.
Assembling and Preparing the Fishing Rod
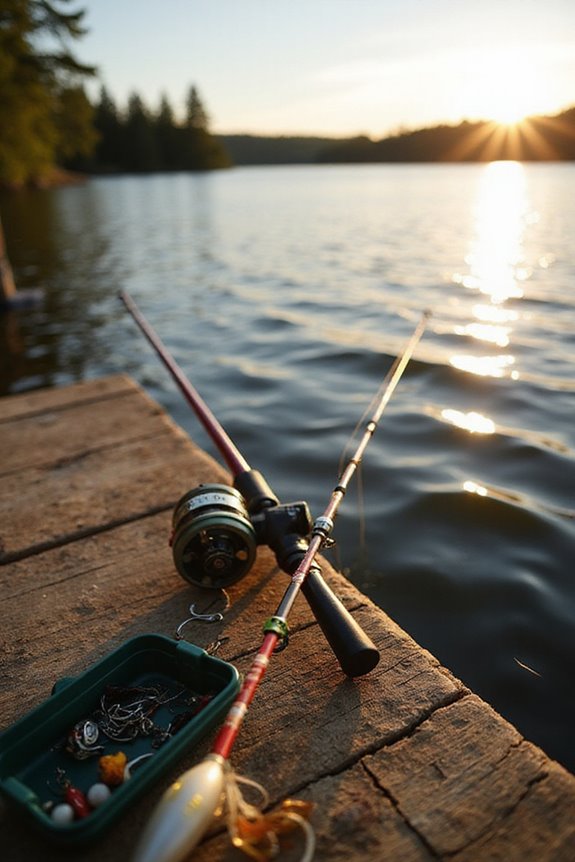
As I prepare to assemble my fishing rod, I start with the tip section and work my way toward the butt section, guaranteeing ideal alignment and protection of the guides. I slightly offset each ferrule, twisting them to align the rod guides in a straight line with the reel. It’s vital not to put pressure directly on the guides during assembly, as this can cause damage. For multi-piece rods, I make certain all sections fit snugly without gaps or wobble, which guarantees stability. I check that each joint is fully seated and aligned perfectly for smooth casting. Having a quality tackle bag with compartments for rod components makes assembly more organized and efficient. This attention to rod alignment and guide protection sets the foundation for a successful fishing experience.
Tying Knots and Attaching Terminal Tackle
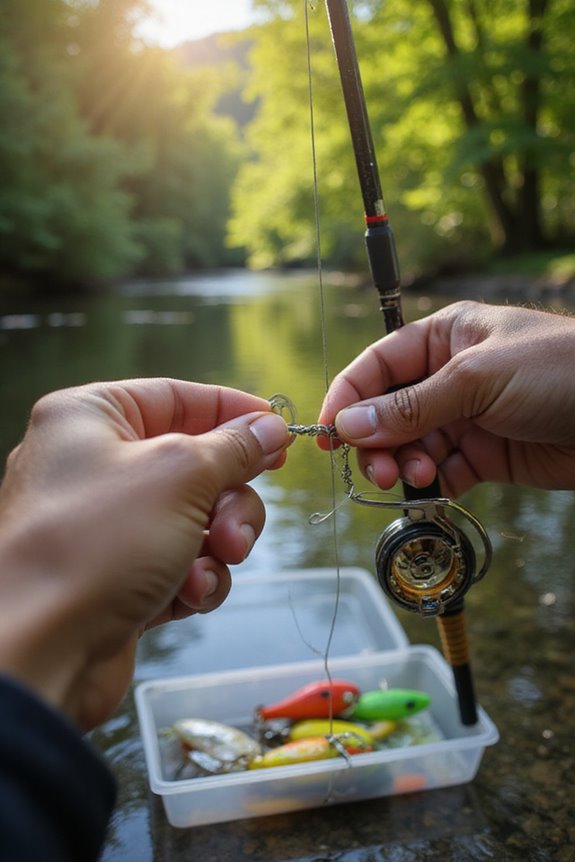
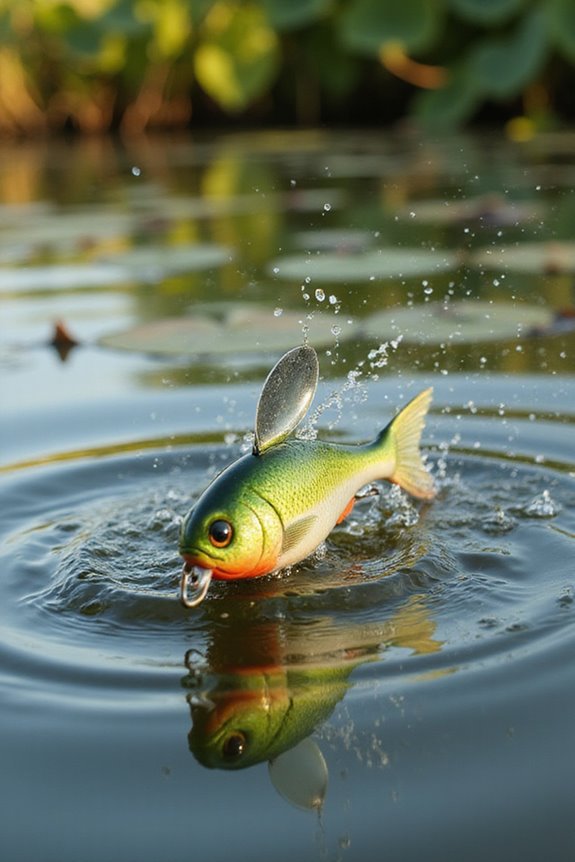
With the fishing rod fully assembled and ready, the next step involves tying knots and attaching terminal tackle. Choosing the right knot types can greatly affect your fishing success. I often use the Palomar knot for its incredible knot strength, especially with braided lines. For lures, the Rapala knot is my go-to, providing a secure hold on fluorocarbon lines. The Improved Clinch knot is simple and effective for smaller monofilament lines. If versatility is key, the Uni knot works well across various line sizes. Finally, the San Diego Jam knot is great for heavy loads, ensuring a reliable connection. Remember, the right knot not only enhances performance but also boosts your confidence on the water. When using fluorocarbon lines like Seaguar InvizX or Berkley Vanish, you’ll benefit from their low visibility underwater, making your terminal tackle less detectable to fish.
Setting Up Hook, Line, and Weights
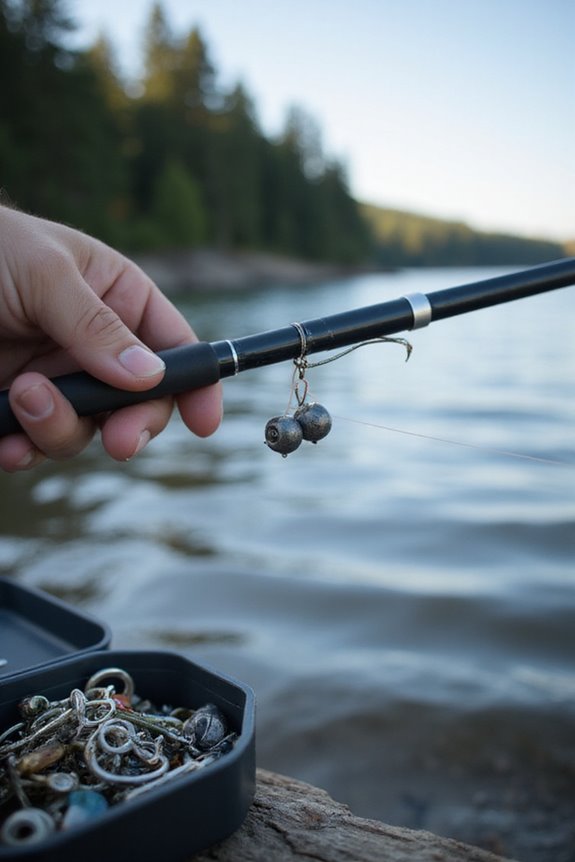
Setting up hook, line, and weights is vital for successful fishing, and getting it right can make all the difference. First, choose the right weight types based on your fishing conditions. For example, I often use split shot sinkers about 30 cm above the hook to keep my bait stable. Twist weights are great for steady drops, while slip weights allow fish to bite without resistance. Proper weight placement is essential; make sure sliding weights can move freely above your hook when bottom fishing. Adjust the amount of weight according to water conditions, maintaining the bait’s natural action. Remember, the right combination of weights can enhance your overall fishing experience and improve your chances of a catch.
Using a Bobber for Bite Detection
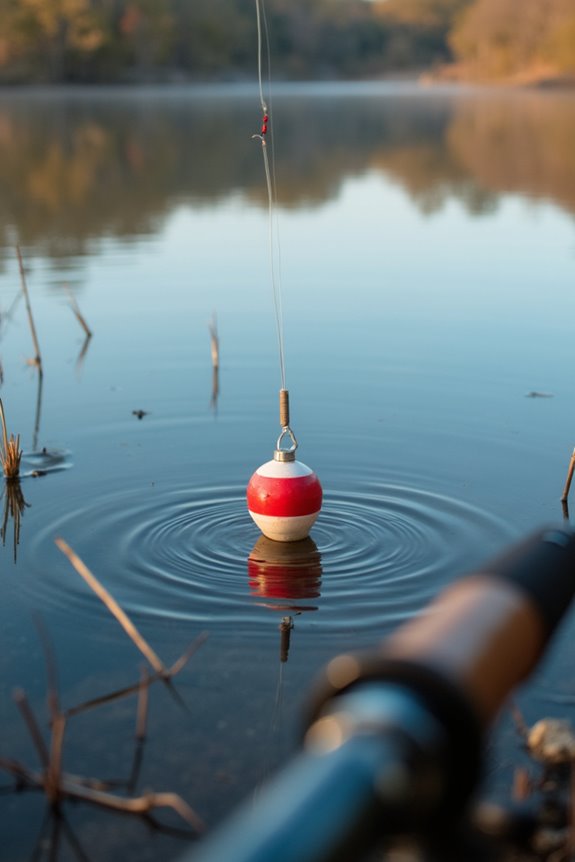
Using a bobber can greatly enhance your ability to detect bites while fishing. Different bobber types serve various purposes. For instance, spring bobbers are excellent for detecting light bites due to their sensitivity, while slip bobbers allow for adjustable depths, perfect for fishing in varying water conditions. Fixed bobbers remain at a set depth, which is useful for targeting specific species. I recommend using sensitive bobbers to catch those subtle nibblets that less responsive bobbers often miss. When you see the bobber dip or move, it signals a bite. Make sure to adjust the bobber position according to your fishing environment, as currents can affect its movement. With practice, you’ll quickly learn to recognize those telltale signs of a fish on the line.
Final Preparation and Tips for Beginners
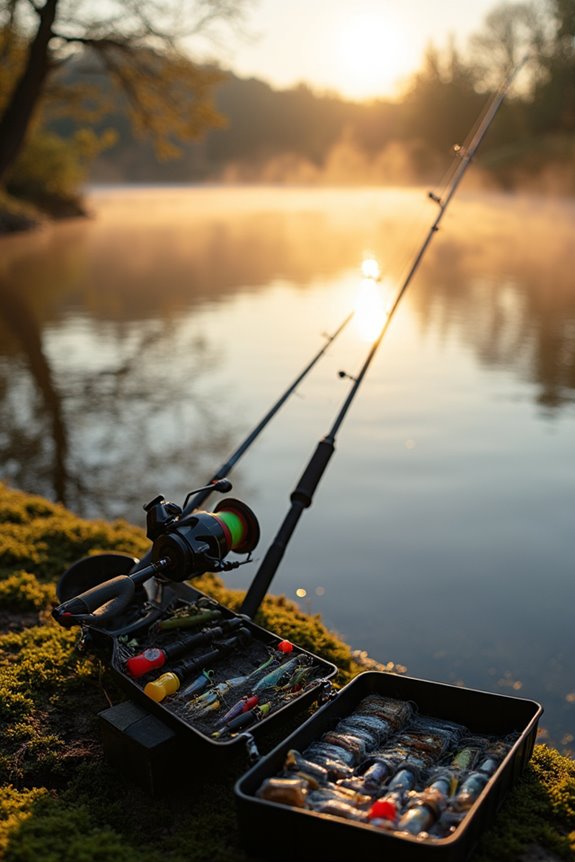
Before you head out on your fishing trip, it’s crucial to guarantee your gear is in top shape. Start with gear maintenance by inspecting your fishing rods and reels for any damage. Remove old fishing line and replace it with fresh line to avoid tangles. Confirm you have extra hooks on hand, replacing any that are dull or damaged. Set up your tackle by type for quick access, and carry essential tools like a fishing knife and pliers. Don’t forget safety precautions; pack a first-aid kit, wear sun protection, and stay hydrated. Check local fishing regulations and confirm you have the proper permits. These preparations will enhance your fishing experience and increase your chances of success.
Frequently Asked Questions
What Type of Fishing Line Should I Use for Beginners?
When I started fishing, I found monofilament line great for beginners due to its ease of use. If you’re feeling adventurous, braided line offers strength and sensitivity, perfect for tackling bigger fish down the line.
How Do I Know What Bait to Use?
When I choose bait, I consider the target fish species and their seasonal preferences. Matching bait selection to the fish’s natural diet increases my chances of success while keeping my fishing experience enjoyable.
What Fish Species Can I Catch With This Setup?
Imagine casting your line into shimmering waters. With this setup, I’ve caught numerous freshwater species like panfish and bass, while dreaming of saltwater species like snapper. It’s an adventure waiting to unfold!
Can I Use My Fishing Pole for Saltwater Fishing?
I wouldn’t recommend using my freshwater pole for saltwater fishing. It lacks the durability and corrosion resistance of proper saltwater gear. Instead, I’d invest in saltwater-specific gear for better fishing techniques and protection.
How Do Weather Conditions Affect Fishing Success?
Weather patterns dance like a fickle friend, shaping our fishing success. I’ve found that adjusting my fishing techniques to match the whims of the wind and clouds can turn a slow day into a thrilling catch.