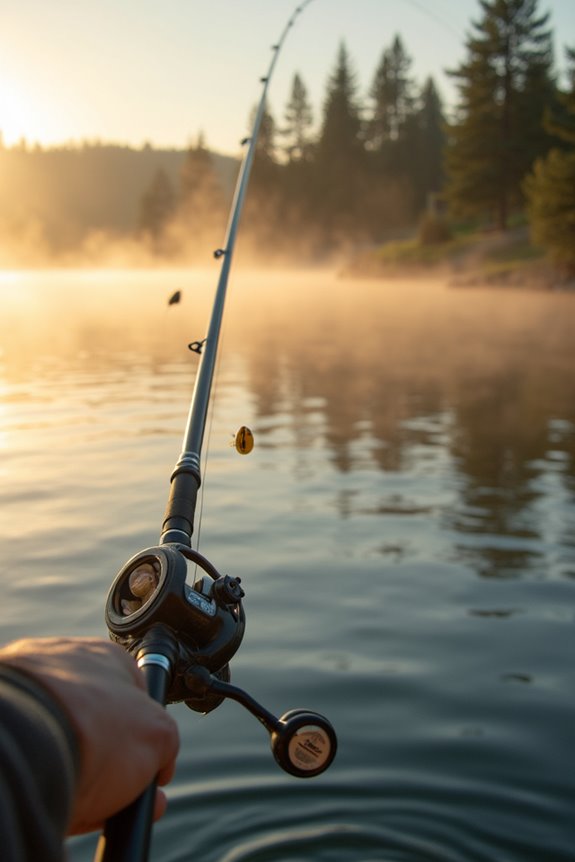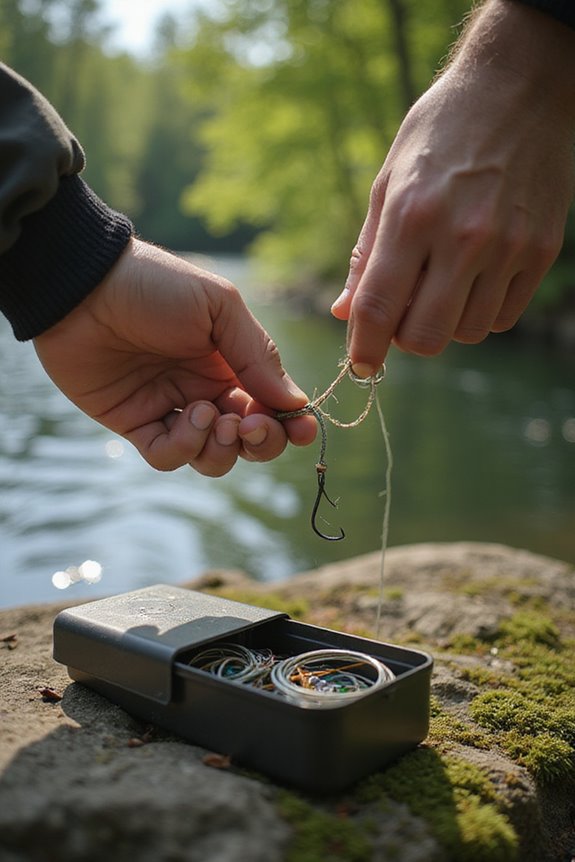
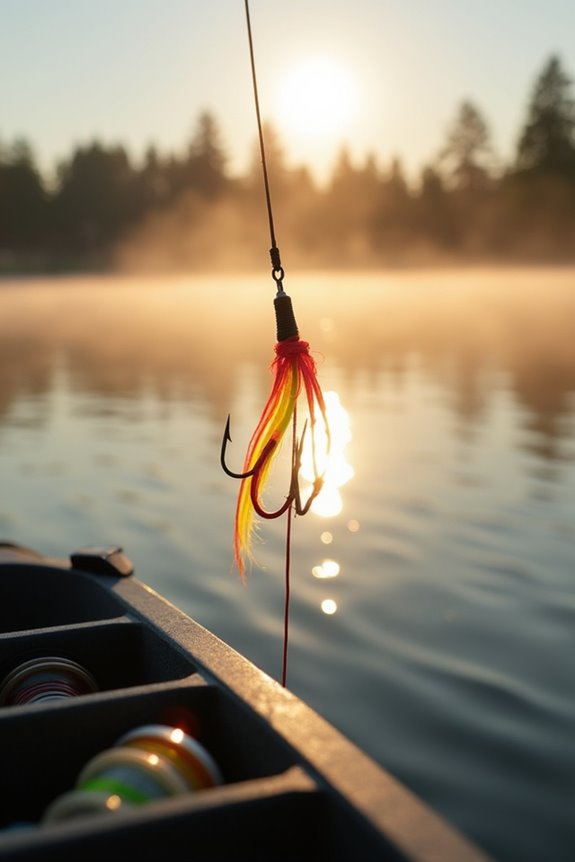
To tie a fishing hook knot, first gather your materials, like a suitable hook and line. I recommend using the Palomar knot for its strength. Start with a doubled line, passing it through the hook’s eye. Make a loose overhand knot, then thread the hook through the large loop. Tighten by pulling both ends firmly. Always inspect your line for damages and moisten it before tightening. There are more knots and tips that can improve your fishing skills ahead.
Key Takeaways
- Choose the right fishing line and hook size based on your target species and technique before tying any knot.
- For the Palomar knot, create a doubled line, pass it through the hook’s eye, and tie a loose overhand knot.
- For the Snell knot, insert the line through the hook’s eye, wrap the tag end around the shank, and thread it through the created loop.
- Always moisten the line before tightening knots to reduce friction and ensure a secure hold.
- Inspect knots after each catch and retie if needed to maintain strength and durability.
Understanding Different Fishing Hook Knots
When I began fishing, understanding different fishing hook knots was essential for my success on the water. I quickly learned about various knot types, each with its unique knot strength and application. The Palomar Knot, for instance, stands out for its extreme strength and versatility, working well with monofilament, fluorocarbon, and braided lines. The Clinch Knot is another essential, offering a simple way to secure a line to a hook, while the Improved Clinch Knot adds a bit more security for important catches. For specialized setups, the Knotless Knot is perfect for hair rigs, and the Dropper Loop Knot allows for multiple hooks. Mastering these knots greatly improved my fishing experience and increased my success on the water.
Preparation Before Tying the Knot
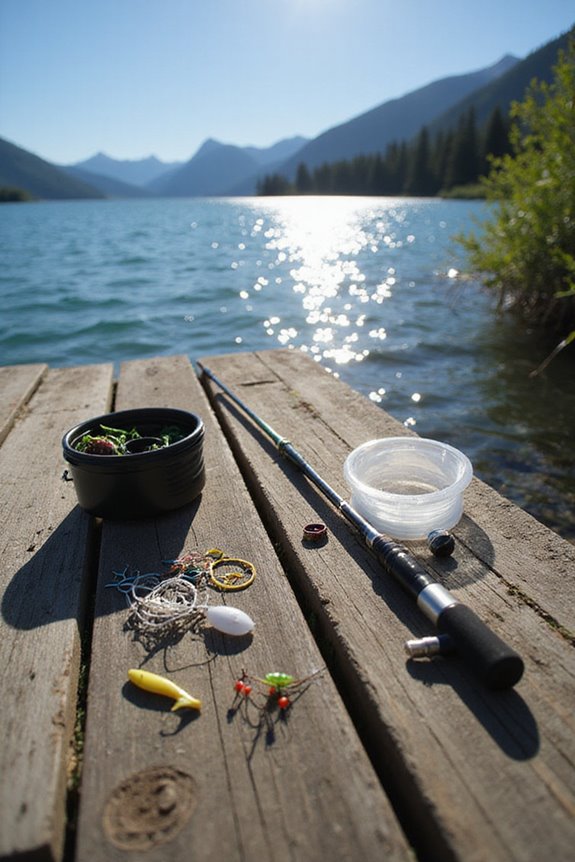
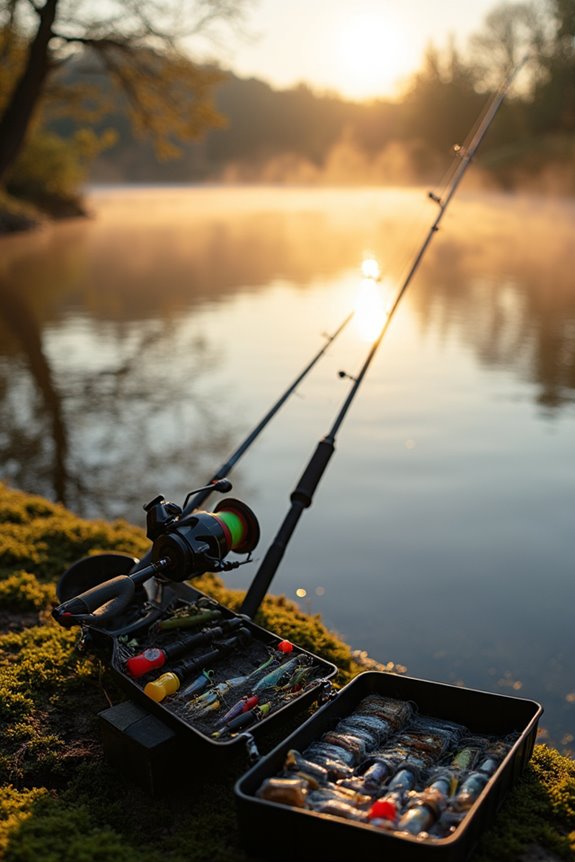
Before tying a fishing hook knot, it’s important to prepare properly to guarantee a successful setup. First, I focus on material selection. I choose a fishing line type and strength that matches the species I’m targeting. Next, I select the right size and style of hook suited for my bait and technique. Then, I cut the fishing line to a workable length, usually around 12-18 inches, while checking for any damage.
Workspace organization is equally essential. I set up a clean, well-lit area where all my materials are within easy reach. I keep my hooks in a small container to avoid injury and have scissors ready for trimming excess line. This preparation assures a smoother knot-tying process.
Step-by-Step Guide to Tying the Palomar Knot
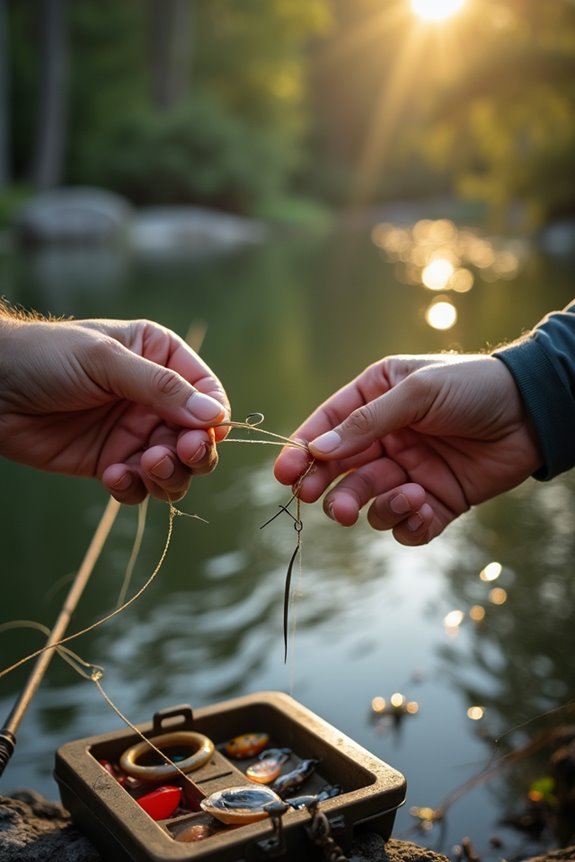
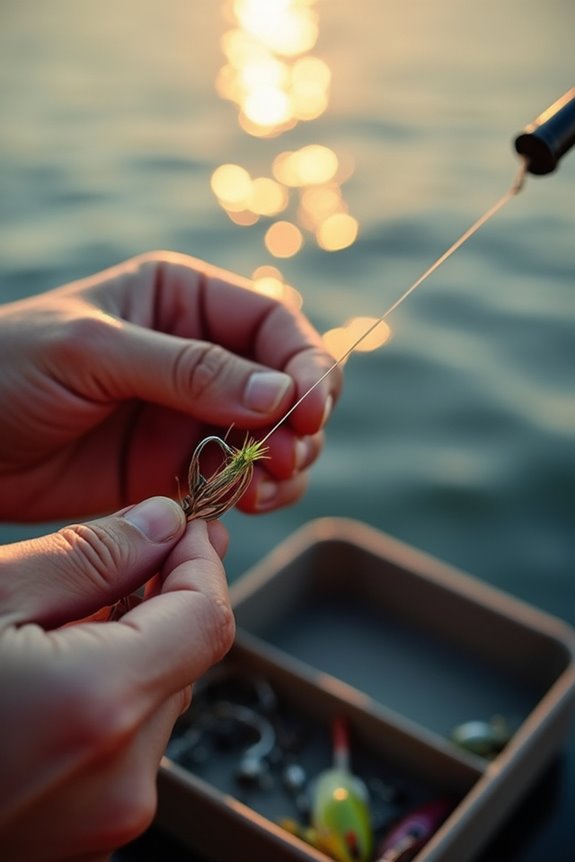
Tying the Palomar knot can be straightforward if you follow the right steps. Start with a doubled line, about 5-6 inches long, and pass the loop through the hook’s eye. Next, tie a loose overhand knot without tightening it too much. Then, pass the hook through the large loop of the overhand knot. Slide the loop over the hook, ensuring it can rotate freely for better bait presentation. Finally, pull both the tag end and the standing line simultaneously to tighten the knot securely. The Palomar knot benefits from its strength and reliability, especially with braided lines. This knot tying technique is quick and effective, making it ideal for both freshwater and saltwater fishing.
Step-by-Step Guide to Tying the Snell Knot
The Snell knot is a highly effective method for securing hooks, particularly when you’re looking to enhance your bait presentation and increase hook penetration. To begin, hold the hook with the point facing upward. Pass the fishing line through the hook’s eye from the point side, then run it down alongside the shank. Curl the line back to create a loop and pinch it behind the hook’s keeper. Next, wrap the tag end around the shank and the loop, making 4 to 10 tight wraps. Thread the tag end through the loop, then pull the main line to tighten. Trim the excess tag end close. Mastering these snell knot techniques is a key part of knot tying essentials for effective fishing.
Step-by-Step Guide to Tying Loop Knots
Loop knots are essential for any angler looking to enhance their fishing game. To tie a loop knot, start by forming an initial loop with the tag end held between your fingers. Use one of the loop knot techniques, like the Kreh or Perfection Loop, and wrap the tag end around the standing line three to five times. Then, thread the tag end back through the loop in the opposite direction. Moisten the knot to reduce friction as you tighten it. Pull on both ends evenly to secure the knot. Trim the tag end close but leave a small portion to prevent slippage. These knot tying variations provide flexibility and strength, perfect for various fishing scenarios.
Tips for Ensuring Knot Strength and Durability
When selecting fishing line and tying knots, guaranteeing durability and strength is essential for success on the water. Start with proper line selection; choose a braided line for knots like the Palomar, as it offers superior strength. Inspect your line for abrasions, and avoid using old or damaged material, as this can greatly weaken your knots. When tying, tighten knots slowly and use extra wraps as recommended. Always moisten your line before final tightening to reduce heat friction. After each catch, conduct a thorough knot inspection for any shifts or deformations. If you notice any odd shapes or uneven wraps, retie your knots. Regular knot maintenance, especially after considerable stress, guarantees you’re always ready for that big catch.
Common Mistakes to Avoid When Tying Fishing Hook Knots
Avoiding common mistakes can greatly enhance your success in tying fishing hook knots. One major error is using the wrong knot for the situation; for instance, an improved clinch knot is perfect for securing hooks, while palomar knots work best with braided lines. Implementing good knot selection strategies can prevent knot failure. It’s also crucial to make 5 to 10 tight coils around the hook to guarantee strength; insufficient turns lead to slippage. Don’t forget to wet the knot before tightening; this reduces friction and protects the line. Additionally, make sure the tag end points back toward the lure to minimize snags, and trim it to a suitable length—too short risks unraveling, while too long can create drag.
Maintaining Your Fishing Lines and Knots
Maintaining your fishing lines and knots is crucial for ensuring a successful day on the water. I regularly conduct line inspections to check for abrasions, frays, and discoloration, especially in the first few feet closest to the hook. If I spot any damage, I cut the line and retie the knot to prevent failure. For monofilament lines, I gently clean them with a damp cloth to remove dirt and salt, while braided lines benefit from a mild soap soak. I also manage line wear by trimming the top 50 feet periodically. Proper knot maintenance is critical, so I always retie connections after cutting damaged sections and test knots by pulling gently before I start fishing. Additionally, understanding the characteristics of fluorocarbon lines can help in selecting the right line for your specific fishing needs.
Frequently Asked Questions
What Type of Fishing Line Is Best for Knot Tying?
Choosing fishing line’s like picking the right tool for a job. I find monofilament’s advantages—its stretch and ease—outshine braided disadvantages. For beginners, monofilament’s the way to go, offering reliable knot strength and flexibility.
How Do I Know if My Knot Is Secure?
To know if my knot’s secure, I rely on knot testing and a thorough visual inspection. I check for tightness, consistent wraps, and any gaps to guarantee it’ll hold up under pressure when fishing.
Can I Use the Same Knot for Different Hooks?
I know it seems tricky, but you can use the same knot for different hook types! Knot compatibility varies, so I often rely on versatile knots like the Palomar and Uni for most situations.
What Tools Do I Need for Tying Fishing Knots?
When I tie fishing knots, I rely on essential fishing tools like needle-nose pliers and line clippers. Having the right knot tying tools makes the process smoother and guarantees my knots are secure and reliable.
How Often Should I Retie My Fishing Knots?
Like a wise fisherman knows the tides, I retie my knots regularly based on fishing conditions. Good knot maintenance is key; I retie after every catch or snag to keep my line strong and reliable.