To tie fishing line on a reel, start by selecting the right line type—monofilament, fluorocarbon, or braided. Remove the old line and clean the spool. Use an Arbor knot to attach the line securely to the reel’s arbor, ensuring it’s tight. Keep the line taut as you spool it on, checking the direction aligns with the reel’s rotation. Avoid twists and distribute the line evenly. With these steps down, you’ll set yourself up for successful fishing trips ahead.
Key Takeaways
- Start by removing the old line from the reel and cleaning the spool surface before spooling new line.
- Securely attach the reel to the rod and position it horizontally for easier line management.
- Use the Arbor Knot to tie the new line to the reel’s arbor, ensuring a strong connection.
- Run the line through the rod guides, maintaining tautness without overstretching, and open the reel bail fully.
- Check that the line unwinds counter-clockwise from the spool to match the reel’s rotation, preventing twists.
Choosing the Right Fishing Line
When choosing the right fishing line, it’s essential to contemplate your specific fishing needs and conditions. There are three main line types: monofilament, braided, and fluorocarbon. Monofilament is great for beginners, offering good shock absorption and stretch, making it versatile in various fishing conditions. Braided line excels in strength and sensitivity, ideal for heavy cover like weeds or rocks. Fluorocarbon, nearly invisible underwater, is perfect for clear water where fish can be line-shy. Each type has its strengths; for example, choose braided for durability and finesse in tough environments, while fluorocarbon is best for stealthy presentations. Fluorocarbon lines feature a high refractive index that closely matches water, making them virtually undetectable to fish. Consider your target species and fishing conditions to select the most effective line type for your next outing.
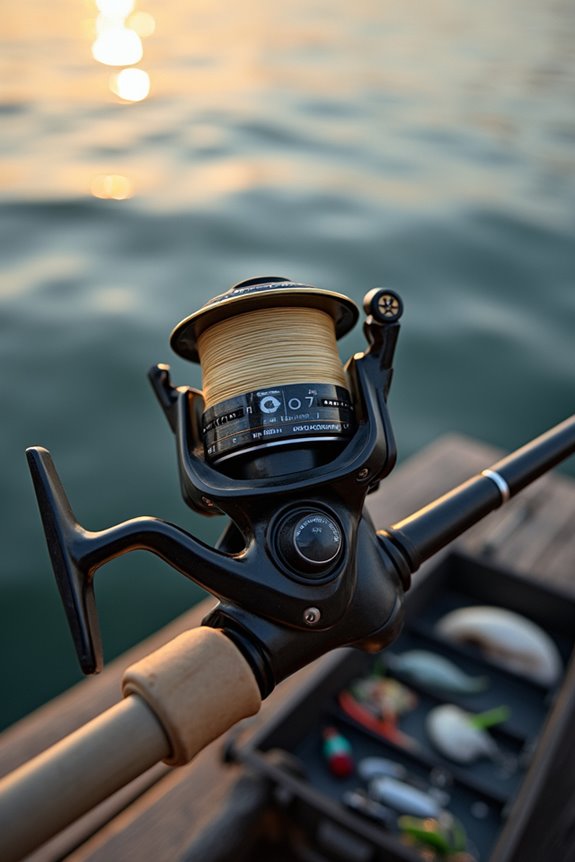
Preparing the Reel for Spooling
Preparing the reel for spooling is an essential step that sets the foundation for a successful fishing experience. First, I completely remove any old fishing line from the reel, using scissors to cut away the remnants. Next, I focus on reel cleaning; I clean the spool surface with a damp cloth to eliminate dirt and debris, making certain it’s dry and free of contaminants. After that, I securely attach the reel to the rod, making sure the reel seat is tight but not overtightened. I position the rod horizontally for easier line management. Finally, I run the new line through the rod guides, keeping line tension taut but not overstretched. Regular cleaning and lubrication are critical to prevent corrosion, especially when using saltwater reels that face harsh marine conditions. This preparation guarantees smooth spooling and prevents future line issues.
Understanding the Arbor Knot
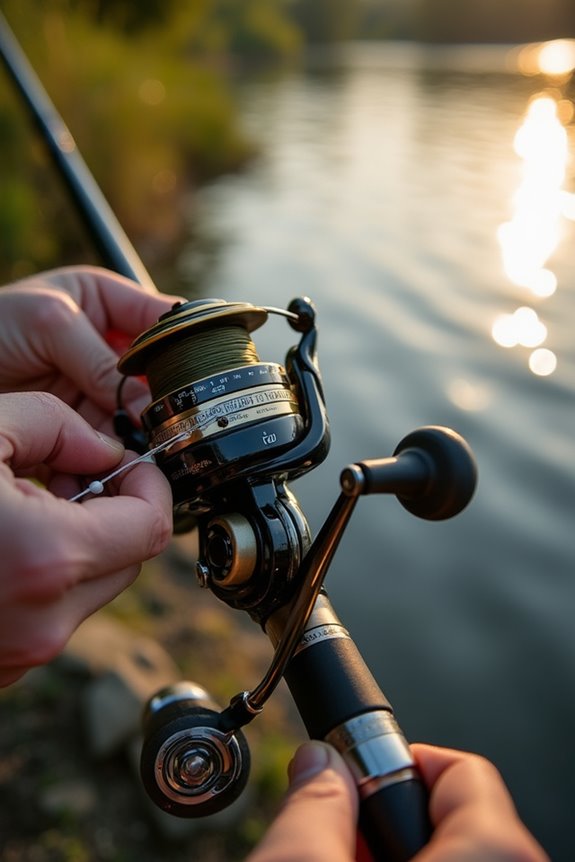
Understanding the Arbor Knot is essential for securing your fishing line to the reel, setting the stage for your fishing adventures. This knot, also known as the Canadian Jam Knot, is primarily designed to attach the line to the reel’s arbor. Its simple structure makes it popular among beginner anglers. I appreciate its reliability, as it provides a strong connection that resists slipping during casting or retrieval. While there are various knot variations, the Arbor Knot stands out for its effectiveness with different fishing techniques. It’s easy to tie and compatible with monofilament and fluorocarbon lines. For braided lines, adding tape to the spool helps improve grip, ensuring your knot holds securely throughout your fishing experience. When using heavier tackle with bank sinkers, choosing the proper weight from 1oz to 32oz will help your line sink quickly with minimal resistance.
Step-by-Step Guide to Tying the Arbor Knot

Tying the Arbor Knot is a straightforward process that can greatly enhance your fishing experience. First, I pass the fishing line around the arbor of the reel, ensuring the spool is clean. I leave a tag end of about 6-8 inches for adjustments. Next, I tie a loose overhand knot around the standing line near the spool, making sure it can slide but remains secure. Then, I form a second overhand knot on the tag end, threading it through the first knot’s loop. This acts as a stopper. Finally, I pull the standing line to slide the first knot down onto the spool, tightening both knots firmly. I trim the tag end for a neat finish, ensuring the knot won’t slip.
Techniques for Extra Security
After securing your line with the Arbor Knot, it’s time to enhance its security further. Using safety lines is a great way to prevent the loss of your rod and reel overboard, especially when trolling. I recommend using a ¼-inch, three-strand nylon rope paired with small carabiner clips for secure attachment. Measure your safety line to allow enough reach from the rod holder to the anchoring point, ensuring it lies flat on the deck to avoid tripping hazards. Employ knot techniques like the Palomar knot or improved clinch knot for tying leaders or hooks. Double or triple wraps before tightening increase friction, and adding a drop of adhesive can keep your knots from unraveling under stress. Regularly inspect and re-tighten your knots for added security.
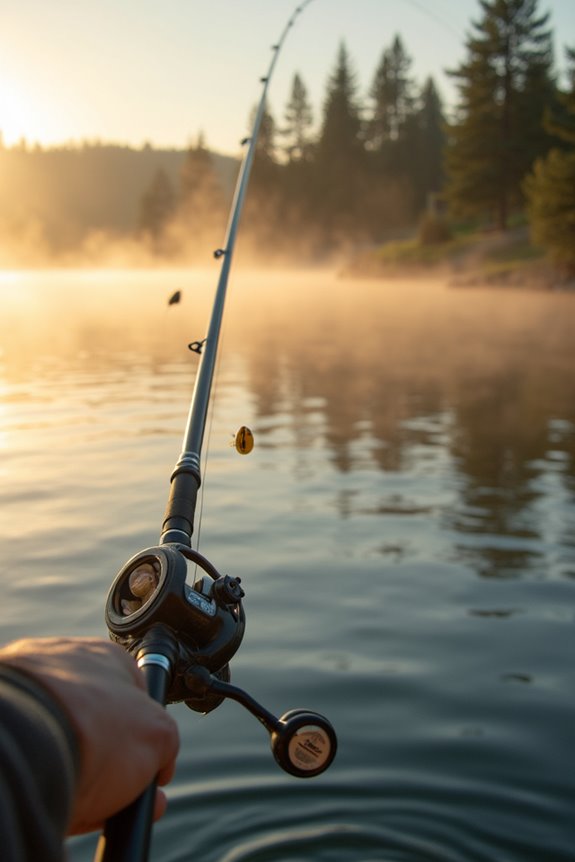
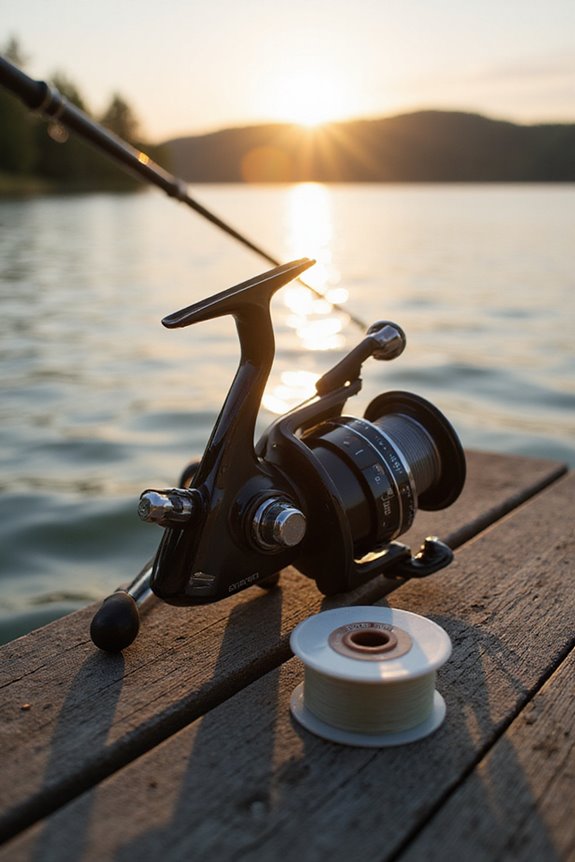
Spooling Line Onto the Reel
When you’re ready to spool line onto your reel, it’s essential to start by preparing both the reel and the line for a smooth process. First, attach the spinning reel to your fishing rod for easier handling. Run the line through the rod guides, starting with the closest one to the reel. Position the spare line spool on a flat surface, ensuring it unwinds counter-clockwise. Open the reel bail fully, then secure the line using a slip knot for monofilament or fluorocarbon, or attach a backing line for braided lines to prevent slippage. Make sure the line direction matches the reel’s rotation to avoid twists. Finally, check that the line is anchored tightly before beginning the spooling process with moderate tension.
Maintaining Tension While Spooling
Maintaining the right tension while spooling is key to ensuring your fishing line performs well when you hit the water. I recommend starting with the drag fully released. As you wind the line, use your fingers or a cloth to pinch it, maintaining controlled tension. This method helps avoid loose wraps or memory issues. Regularly check the tension, adjusting as needed, especially if the line starts to feel inconsistent. If you have a fish scale, use it to measure tension accurately. Be mindful of the line condition; old line may behave unpredictably. Proper line maintenance, including regular cleaning and storage away from UV light and moisture, will also aid in maintaining consistent tension.
Avoiding Common Mistakes
Avoiding common mistakes while spooling your fishing line can greatly enhance your success on the water. First, make sure you choose the right fishing knots, like the uni knot or ‘2-5’ knot, to maximize knot strength. Rushing through knot-tying can lead to slippage, so take your time and wet the line before cinching. Pay attention to line twist; always spool line in the opposite direction of the reel rotation to prevent tangles. It’s essential to fill your spool correctly—aim for about 1/8 inch below the lip to maintain proper spool tension. Finally, match your line diameter to the spool size to avoid spool issues that can affect casting distance and reel mechanics.
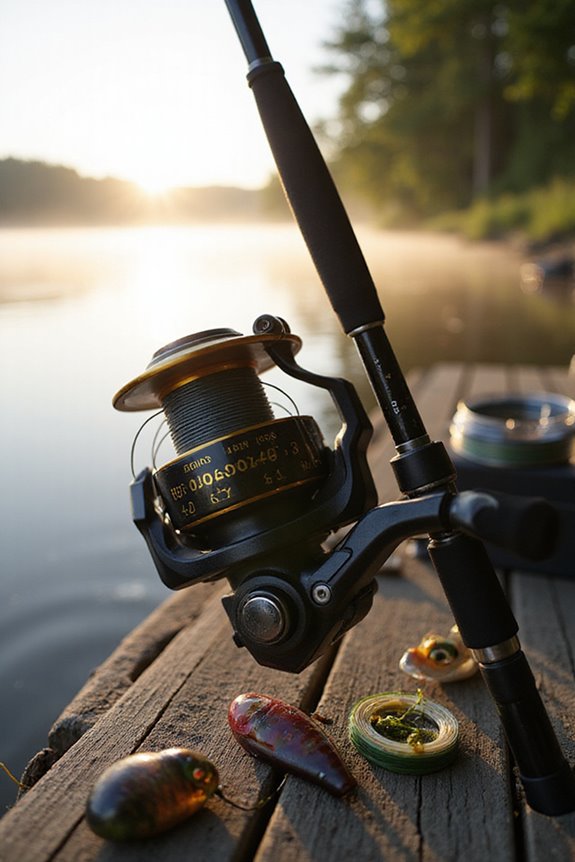
Ensuring Even Line Distribution
Ensuring even line distribution on your reel is essential for achieving peak performance while fishing. To maintain consistent tension, I apply steady pressure on the line as I reel, which helps prevent slack and unwanted line loops. I find that using my fingers or a cloth to control tension stabilizes line alignment during winding. It’s vital to keep the rod tip pointed slightly upward, allowing the line to lay smoothly across the spool. Additionally, I make sure the reel is positioned correctly, so the line flows straight from the filler spool without crossovers. Periodically checking the line lay during spooling helps me catch any unevenness early, ensuring a well-spooled reel that enhances my casting and retrieval efficiency.
Tips for Successful Fishing Line Setup
When setting up your fishing line, it’s crucial to start with the right type of line for your specific fishing conditions. I often choose between monofilament, fluorocarbon, or braided lines based on water clarity and fish species. Monofilament works well for beginners due to its versatility, while fluorocarbon is nearly invisible underwater, perfect for clear waters. When using braided line, I always add a 4 to 6-foot fluorocarbon leader for better invisibility and abrasion resistance. Additionally, I pay close attention to line strength and stretch characteristics to match my target species. Finally, I verify proper knot techniques and spooling to avoid tangles and verify a solid setup, enhancing my overall fishing experience.
Frequently Asked Questions
What Type of Fishing Line Is Best for Beginners?
When I started fishing, I found monofilament’s advantages unbeatable for beginners—it’s easy to handle and knot. While braided line’s benefits are great for precision, I recommend sticking with monofilament until you gain more experience.
How Often Should I Replace My Fishing Line?
I recommend replacing your fishing line regularly for peak performance. Depending on usage, monofilament might need a yearly change, while braided lines can last seasons. Always monitor for wear to guarantee your fishing line lifespan is maximized.
Can I Use the Same Line for Different Reels?
I’ve often wondered about line compatibility across different reel types. While it’s possible to use the same line, matching its strength to each reel’s specifications is essential for ideal performance and avoiding issues.
What Is the Best Way to Store Fishing Line?
When it comes to line storage, I always keep my fishing line in a cool, dry place away from sunlight. Good line maintenance involves using airtight containers and checking for damage regularly to guarantee longevity.
How Do I Know if My Line Is Damaged?
When I perform line inspection, I look for signs of wear like frays or discoloration. If I feel rough spots or see kinks, I know it’s time to replace my fishing line to avoid issues.